Clean and prep the bed
Scrape the bed and sweep it out. Old concrete, dried release, and dust all leave a mark on the panel. The bed must be flat, dry, and clean.
Lay out the liner and plan the joints
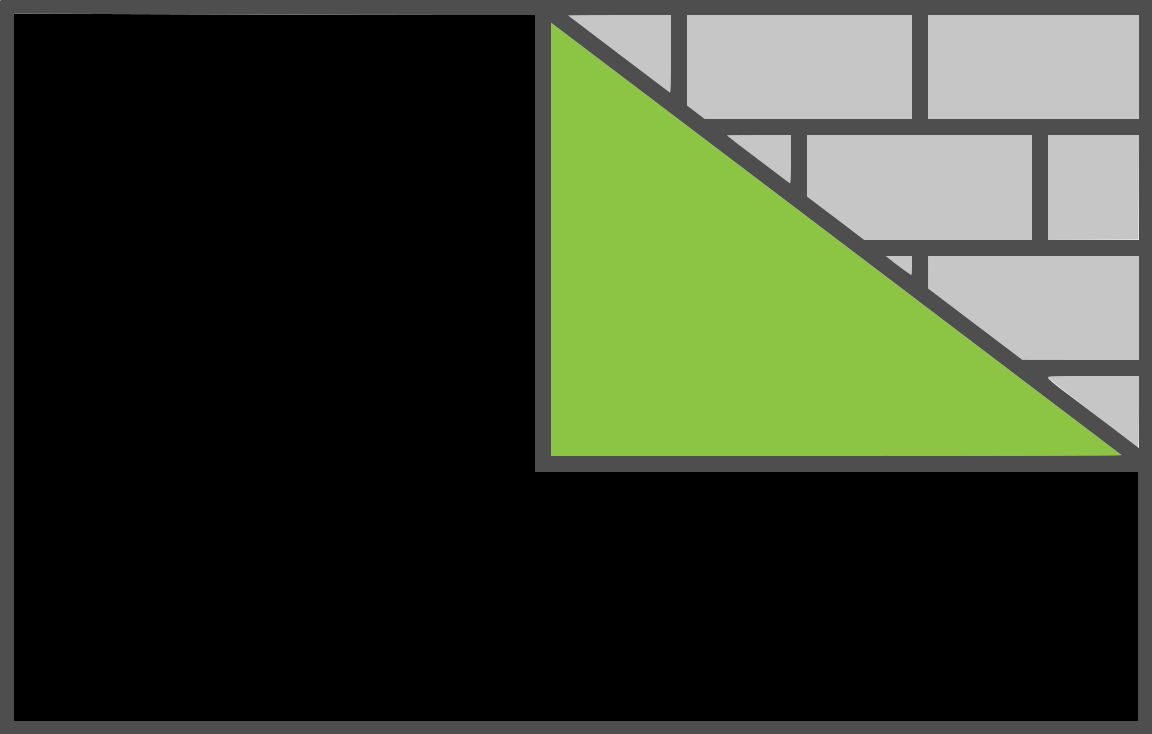
Dry-lay the liner before fastening anything. Mark where the seams fall and where the starter and ender sheets go. Joints belong at a natural break in the pattern, away from the middle of a clean face. The layout also sets how many sheets you need and how they fit the bed. Starter and ender sheets let the pattern run edge to edge with no partial sheet at the end.
Secure the liner so it lays flat
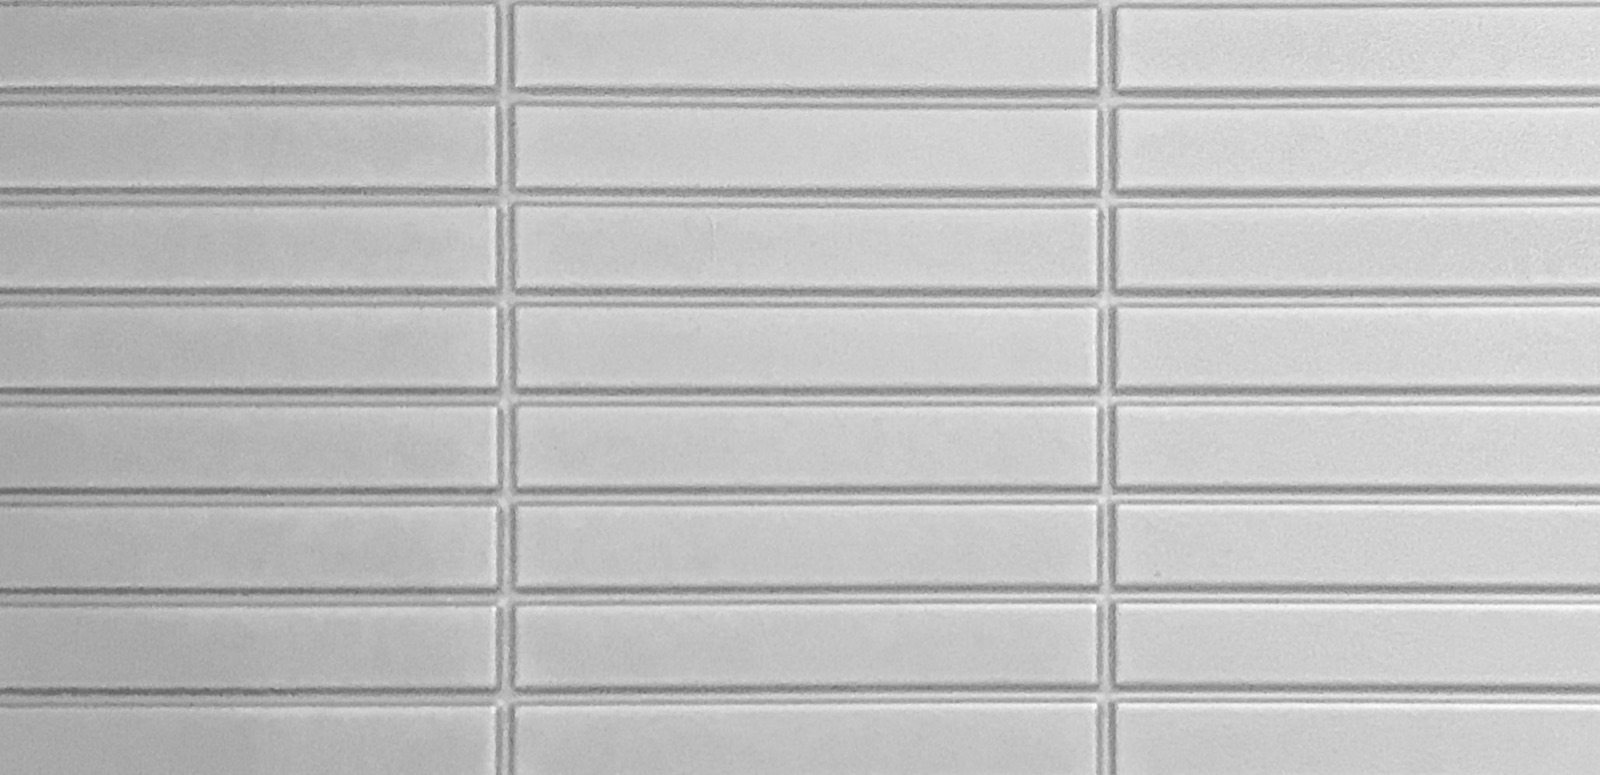
During the pour, concrete pushes and lifts. A liner that is not held down floats or slides, leaving a wavy face and lost texture. Fasten or bond the liner to the bed per the method for that liner, flat with no bubbles or lifted edges. Check the seams: concrete runs under a loose seam and leaves fins to patch.
Apply the right form release
Match the release to the liner material, since a release that works on one material can attack another. Spread it thin and even. Excess release pools in the deep parts of the texture and prints onto the concrete. Too little release lets the panel grab the liner, which tears fine detail and shortens the life of a multi-use liner.
Place reinforcement and embeds
Set rebar, mesh, and embeds without dragging steel across the liner face. A gouge in the liner shows on that panel and on every panel poured off the liner after it. Lower steel in and keep sharp ends off the liner.
Pour and consolidate
Place the concrete evenly across the bed. Consolidate enough to work the mix into the deep parts of the texture so the pattern reads sharp. Excess vibration can blow out a liner or push air against the face, leaving bug holes.
Strip with the draft
Draft is the slight taper in the profile that lets the texture release. Lift the panel straight and steady so the draft works with the lift. A rushed lift or a bad angle catches the texture, chips the liner, and tears the concrete face.
Clean and store multi-use liners
Wash the concrete off before it hardens. Let the liner dry. Store it flat and fully supported so it does not sag, curl, or crease. A liner cared for this way holds its detail pour after pour, and fewer rejects mean more panels off the same forms.
Common questions
- Why does the liner need to be secured to the bed?
- Concrete is heavy and it wants to lift or slide a loose liner during the pour. If the liner floats or shifts you get a wavy face, blurred texture, and concrete runs under the seams. Fastening or bonding it flat keeps the pattern sharp and repeatable.
- Does the form release matter that much?
- Yes. The release has to match the liner material, and it goes on thin and even. Too much pools in the deep parts of the texture and prints on the panel. Too little and the panel grabs the liner, which tears detail and shortens the life of a multi-use liner.
- How does draft help the panel strip clean?
- Draft is the slight taper built into the profile so the texture can release. When you strip with the draft working for you, the pattern releases. Fighting the draft chips the liner and leaves torn spots on the concrete face.